Installation Of Click Laminate Flooring
Click laminate flooring has become a popular choice for homeowners and businesses due to its affordability, durability, and ease of installation. Unlike traditional flooring methods that require glue or nails, click laminate flooring features a simple interlocking mechanism that allows for a seamless and hassle-free installation. In this guide, we will walk you through the process of installing click laminate flooring, ensuring a professional and long-lasting finish.
Why Choose Click Laminate Flooring?
Before diving into the installation process, it’s essential to understand why click laminate flooring is a preferred option for many:
Ease of Installation: No need for adhesives or special tools—simply click the planks together.
Durability: Resistant to scratches, moisture, and daily wear and tear.
Aesthetic Appeal: Available in various textures and finishes, mimicking real hardwood or stone.
Cost-Effective: More affordable compared to solid wood or tile flooring.
Low Maintenance: Easy to clean and maintain over time.
Tools and Materials Required
Before you begin, gather the following tools and materials:
Click laminate flooring planks
Underlayment (if required)
Measuring tape
Utility knife
Spacers
Rubber mallet
Pull bar and tapping block
Saw (circular saw or jigsaw for cutting planks)
Vacuum or broom
Step-by-Step Installation Process
Step 1: Prepare the Subfloor
The first step in the installation process is to prepare the subfloor. Ensure that the surface is clean, dry, and level. If necessary, remove any old flooring and make repairs to uneven areas. A level subfloor is essential for a smooth installation and to prevent issues such as warping or gaps.
Step 2: Install the Underlayment
Many click laminate flooring options require an underlayment to provide cushioning, sound absorption, and moisture protection. Roll out the underlayment across the entire floor, securing the seams with tape as needed.
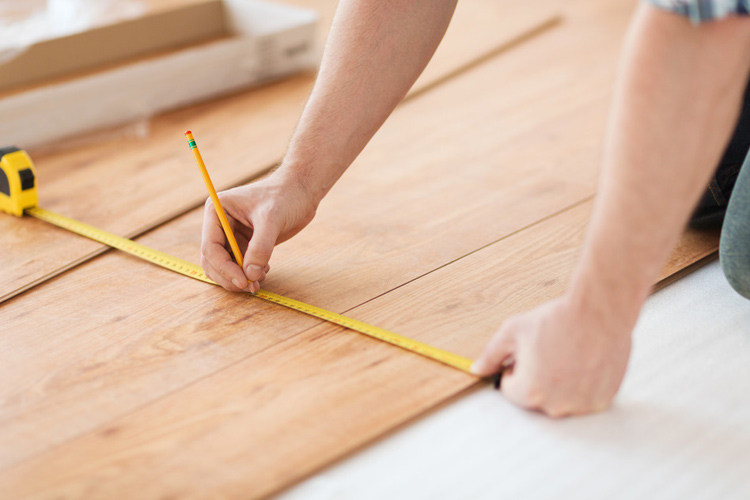
Step 3: Plan the Layout
Before installing the planks, measure the room and determine the best layout. It’s recommended to start along the longest wall and stagger the planks in a way that resembles natural wood flooring patterns. Leave a ¼-inch expansion gap around the perimeter of the room to allow for natural expansion and contraction.
Step 4: Begin Installing the Planks
Start placing the first row of planks with the tongue side facing the wall. Use spacers to maintain the expansion gap. Click the second plank into the first at an angle and press down to lock it in place. Continue this process across the row.
Step 5: Continue with Subsequent Rows
For the next row, stagger the seams by at least 12 inches for added stability. Insert the tongue of the new plank into the groove of the previous row at an angle and click it into place. Use a tapping block and rubber mallet if needed to ensure a snug fit.
Step 6: Cut and Fit the Final Planks
As you reach the end of the room, measure and cut the last row of planks to fit. Use a saw to make precise cuts. Don’t forget to maintain the expansion gap along the edges.
Step 7: Install Trim and Moldings
Once all the planks are in place, remove the spacers and install baseboards or quarter-round moldings to cover the expansion gap. Nail or glue them to the wall (not the flooring) to allow for natural movement.
Step 8: Clean and Enjoy Your New Floor
After installation, clean up any debris and give your new flooring a final check. Your click laminate flooring is now ready to use!
Maintenance Tips for Click Laminate Flooring
To keep your laminate flooring looking new for years, follow these simple maintenance tips:
Sweep or vacuum regularly to remove dirt and dust.
Use a damp (not wet) mop with a laminate-friendly cleaner.
Avoid excessive moisture and wipe up spills immediately.
Use furniture pads to prevent scratches.
Keep pet nails trimmed to minimize surface damage.
Final Thoughts
Installing click laminate flooring is a straightforward DIY project that can significantly enhance the look and feel of your space. With proper preparation and careful installation, you can achieve a beautiful, professional-quality finish without the need for professional help. Whether you’re upgrading your home or an office space, click laminate flooring is a stylish and cost-effective solution that offers both durability and convenience.
By following this step-by-step guide, you can successfully install your own laminate flooring and enjoy its benefits for years to come.


